

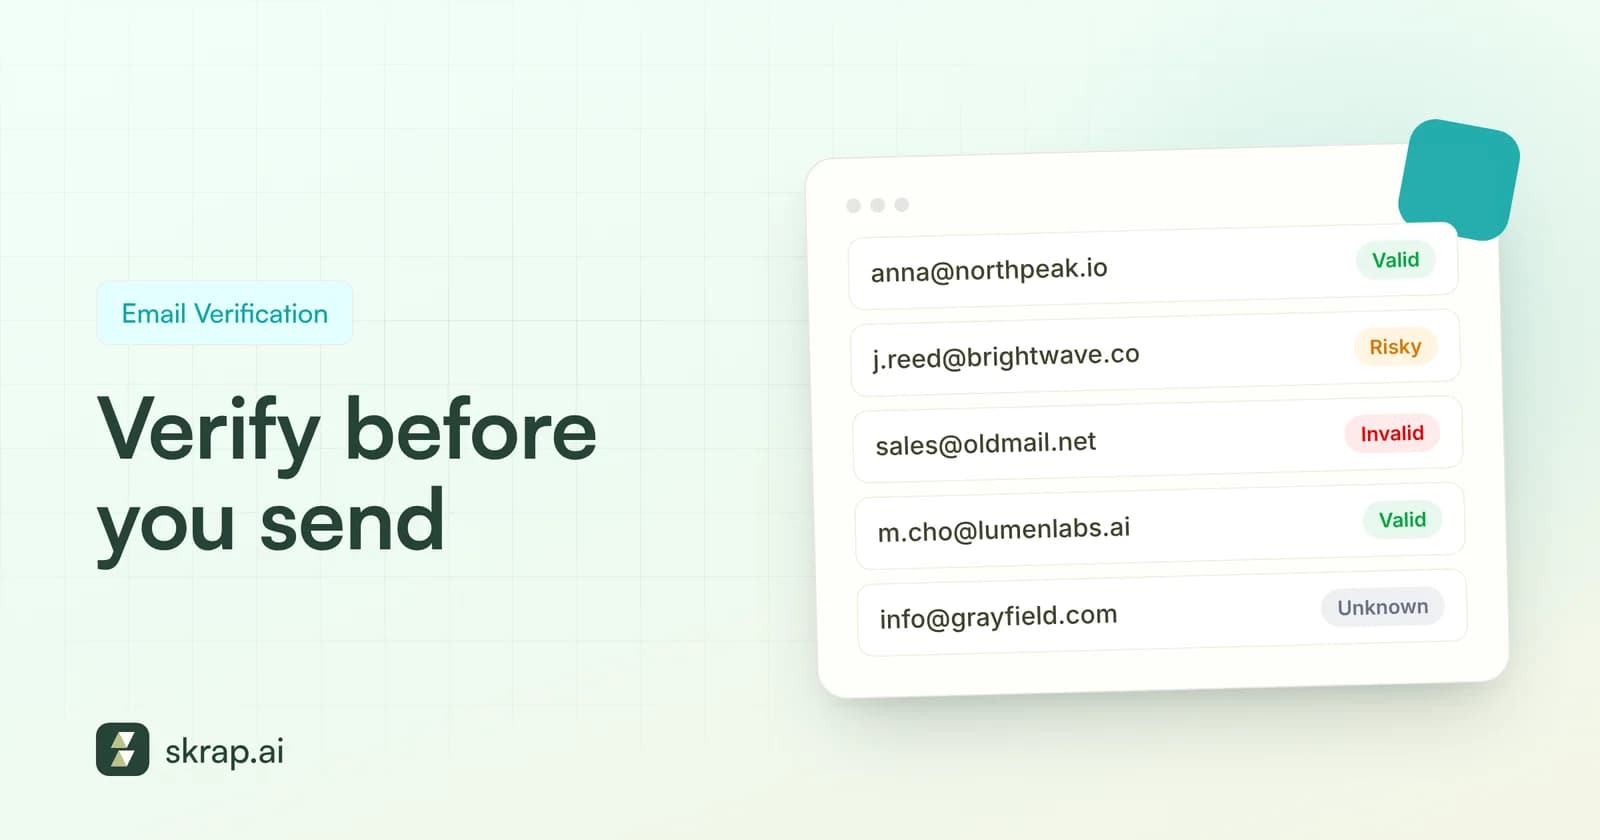
Every bounced email costs a sales team twice. First, the message never reaches a buyer. Second, the bounce tells mailbox providers you're mailing addresses that don't exist, which can push your next campaign toward the spam folder.
Email verification fixes that before it happens. It checks whether an address can actually receive mail, so you can remove the dead ones and send with confidence. But verification only works if you understand what the results mean and build it into your routine instead of treating it as a one-off cleanup.
This guide explains how email verification works under the hood, what Valid, Risky, Invalid and Unknown really mean, when and how often to verify, and a bulk workflow your SDRs or ops team can run before every campaign.
Why verification matters for sales teams
Sales lists decay faster than most teams expect. People change jobs, companies rebrand or get acquired, and old mailboxes get shut down. HubSpot, citing MarketingSherpa research, puts B2B data decay at about 2.1% per month, or roughly 22.5% a year. A list that was clean in January is meaningfully dirtier by summer.
Mailbox providers and sending platforms notice. Amazon SES, for example, tells customers to keep bounce rates below 2%, places accounts under review at 5%, and may pause sending at 10%. Microsoft's 2025 guidance for high-volume senders to Outlook.com recommends removing invalid addresses regularly to reduce complaints, bounces and wasted messages.
For SDR teams, the stakes are personal: most outbound runs from a handful of domains. A few bad campaigns can hurt the reputation of the domain every rep depends on.
There's a productivity cost too. Every bounced address is a sequence step that went nowhere, a lead that looks “contacted” in your CRM but never was, and a rep whose activity numbers overstate real conversations. Verifying first means your reply rates and pipeline metrics reflect people who actually received the email. If you track outbound performance closely, our lead generation KPIs guide shows where bounce rate fits alongside reply and meeting rates.
How email verification works
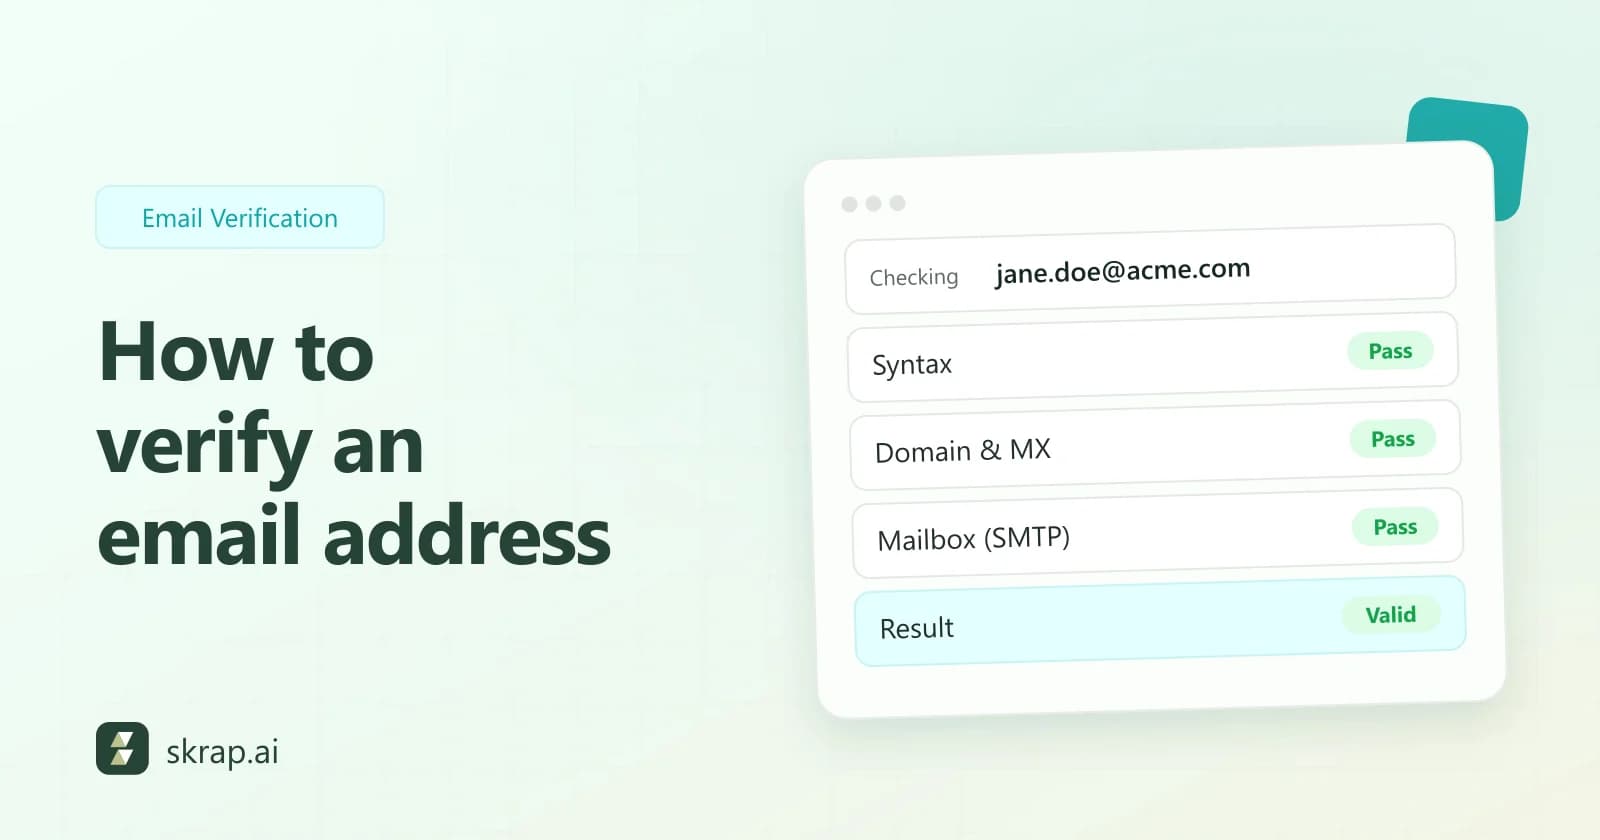
A good verifier runs several checks in sequence, from cheap and fast to slow and precise. Here is what happens to each address.
1. Syntax check
The address is parsed against email formatting rules. This catches typos like a missing @, double dots, spaces or illegal characters. It's instant and filters out obvious junk from form fills and manual data entry.
2. Domain and MX check
Next, the verifier looks up the domain in DNS. Does the domain exist? Does it publish MX (mail exchanger) records, or at least an address record that can accept mail? The SMTP standard, RFC 5321, describes delivery as resolving the domain through MX records or A/AAAA address records. A domain with neither can't receive email, so every address on it is invalid.
3. SMTP mailbox check
Finally, the verifier connects to the domain's mail server and starts an SMTP conversation as if it were going to deliver a message, then stops before sending anything. The key moment is the RCPT TO command, which names the recipient. Per RFC 5321, a server that accepts the recipient replies “250 OK,” and one that doesn't typically replies 550 with a message like “no such user.”
That answer is what separates a real mailbox from a dead one. The older VRFY command, which asks a server directly whether an address exists, isn't reliable for this: RFC 5321 lets administrators disable it for security reasons, and many do.
SMTP verification ends the conversation before any message data is transmitted. The recipient never sees anything in their inbox.
What Valid, Risky, Invalid and Unknown mean
Mail servers don't always give clean yes or no answers, so verification results fall into four buckets. Here's how to read each one in Skrap.ai, what to do with it, and what it costs under our fair-credit model.
| Result | What it means | What to do | Credit cost |
|---|---|---|---|
| Valid | Syntax, domain and mailbox checks passed; the server accepted the recipient. | Send. | 1 credit |
| Risky | The address may work, but the server can't confirm it, often because the domain is catch-all and accepts every address. | Send carefully in small batches, or hold for high-value prospects only. | 1 credit |
| Invalid | The address fails syntax, the domain can't receive mail, or the server rejected the mailbox. | Remove from your list and suppress. | Free (0 credits) |
| Unknown | The server didn't give a clear answer: it timed out, was temporarily unavailable or deferred the check. | Don't send yet. Re-verify later. | Free (0 credits) |
Why some results come back Unknown
Some servers use greylisting. RFC 6647 describes it as deliberately giving temporarily degraded service to unknown senders, usually by returning a temporary error and expecting legitimate servers to retry. Others rate-limit connections or are simply down. In SMTP terms these are 4.x.x responses, which RFC 3463 classes as persistent transient failures: the request might succeed later. That's why Unknown is a “try again” result, not a “bad” one.
Why catch-all domains come back Risky
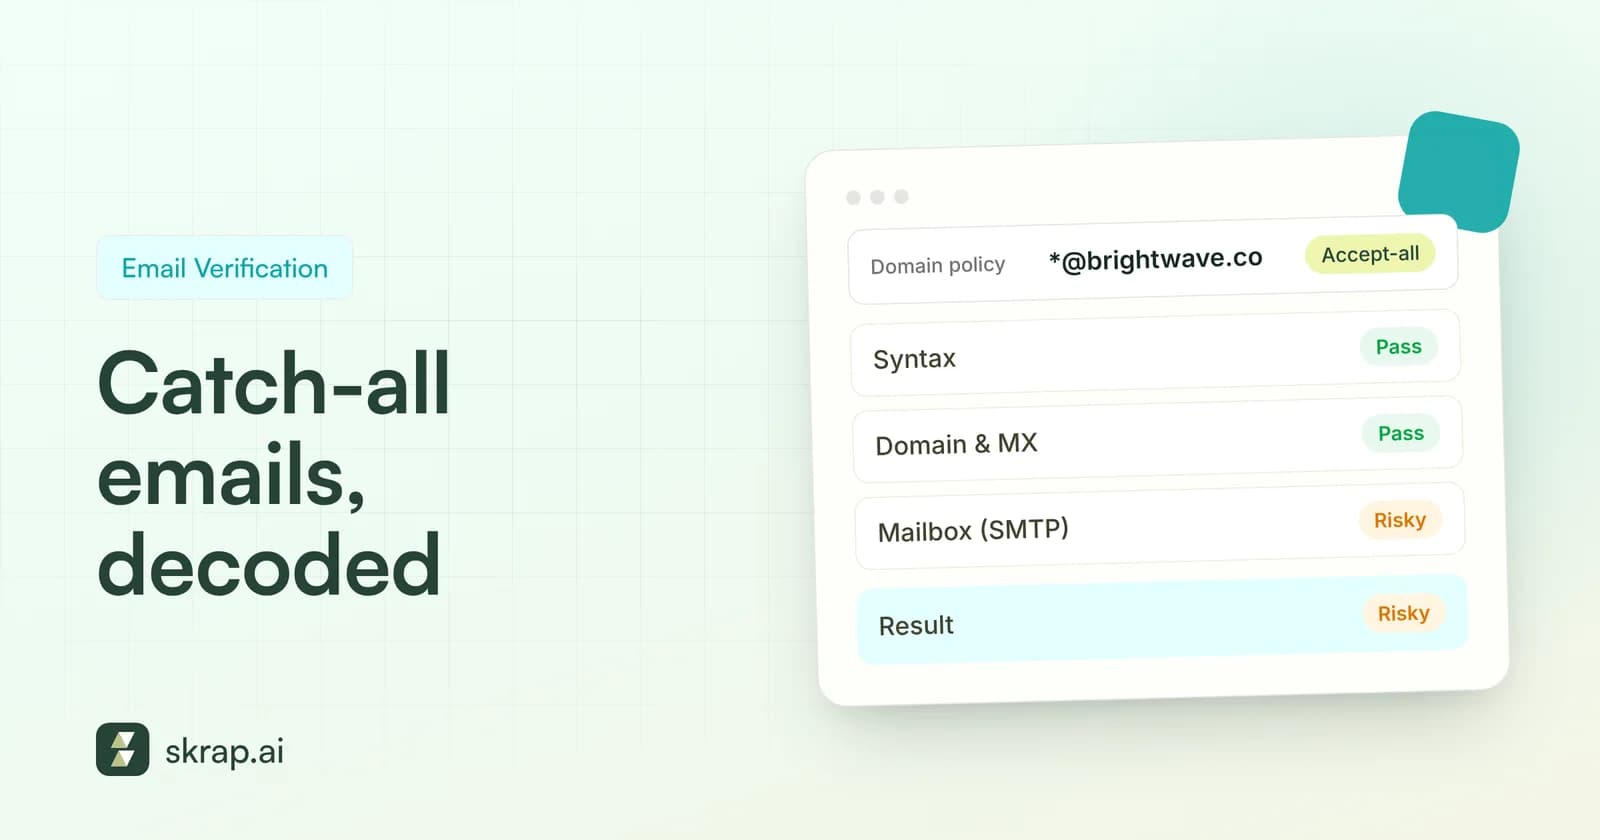
A catch-all (or accept-all) server answers 250 OK for every address on the domain, real or not, and sorts things out after the message arrives. The SMTP check can't tell a real mailbox from a made-up one, so the honest answer is Risky. Our catch-all emails explainer goes deeper on how to work these addresses.
When to verify (and how often)
Verification isn't a one-time project. Build it into the moments when bad data enters your pipeline or is about to leave it.
- Before every campaign or sequence. This is the single most important rule. Even a list you verified last quarter has decayed since.
- When importing any new list. Event attendee lists, partner lists, old CRM exports and spreadsheets from a departed rep all need checking before the first send.
- At the point of capture. If you collect emails through forms, verify in real time with an API so typos never reach your database.
- After a bounce spike. If a campaign's bounce rate jumps, pause and re-verify the remaining audience before continuing.
For re-verification cadence, let the decay rate guide you. At roughly 2.1% per month, a list sitting untouched for three months has likely lost around 6% of its accuracy. A practical rule:
| Last verified | Recommended action |
|---|---|
| Within the last 30 days | Safe to send if nothing major changed |
| 30 to 90 days ago | Re-verify before any large send |
| More than 90 days ago | Always re-verify before sending |
| Never verified | Verify before the first email goes out |
A bulk verification workflow for sales teams
Here's a repeatable process you can hand to any SDR or ops person. It takes minutes per list.
- 1Export the list. Pull the campaign audience from your CRM or sequencing tool as a CSV or XLS file. Keep a column with a unique ID so you can match results back.
- 2Deduplicate first. Remove duplicate emails so you don't pay to verify the same address twice.
- 3Upload to bulk verification. In Skrap.ai, upload the file to Bulk Verify. Each request handles up to 25,000 emails.
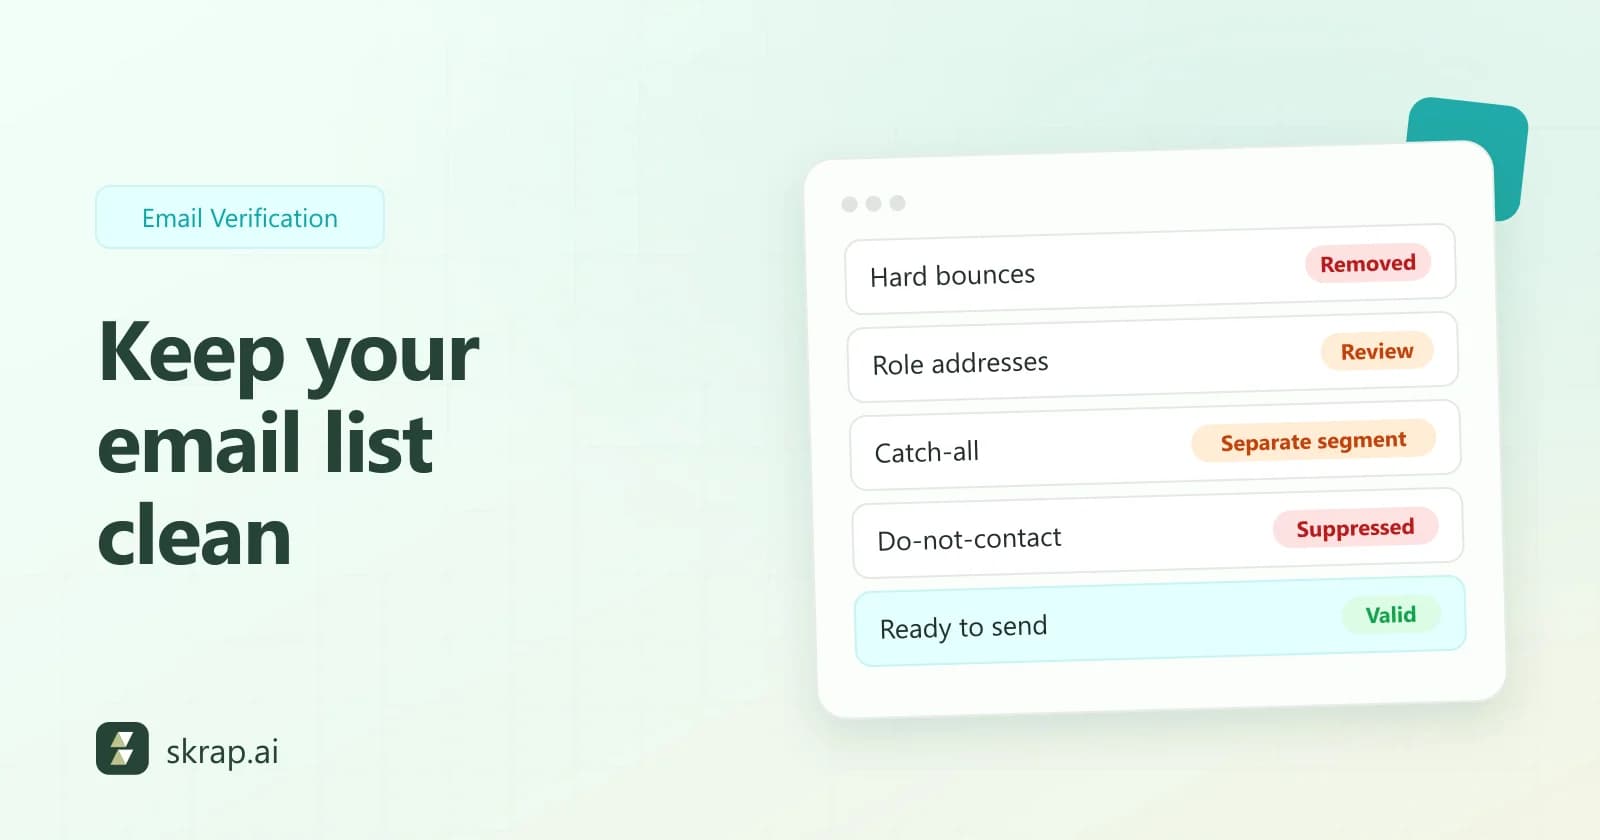
- 4Split by result. Sort the output into Valid, Risky, Invalid and Unknown segments.
- 5Remove Invalid for good. Delete or suppress these in your CRM so they don't sneak back into future lists.
- 6Re-check Unknown. Run Unknown results again after a few hours or the next day. Many resolve to Valid or Invalid on a second pass.
- 7Decide on Risky. Apply your team's written rule (see the next section).
- 8Import Valid back and send. Re-import the clean segment into your sending tool and launch.
If your team lives in spreadsheets, the Google Sheets add-on lets you verify without exporting anything. For automated pipelines, the REST API returns JSON results you can write straight back to your CRM fields. See our email API and CRM workflow guide for a walkthrough.
How to handle Risky results
Risky is where judgment matters. Throwing every Risky address away can mean losing real decision-makers at companies with catch-all servers. Sending to all of them blindly can spike bounces. Write a rule and stick to it. Here are options teams commonly choose between:
- Prioritize by value. Keep Risky addresses for top-tier accounts where the upside justifies some risk; drop them for broad, low-touch campaigns.
- Send in a separate, small batch. Put Risky addresses in their own segment, send a small batch first, and check bounces before releasing the rest.
- Mix them in sparingly. Never let Risky contacts make up a large share of a single send. Keep the bulk of every campaign Valid.
- Find a better address. If a Risky address belongs to a key prospect, try the Email Finder to look for a confirmed alternative, or reach them through another channel.
- Watch the results. If a Risky segment bounces, suppress the bounced addresses and tighten your rule for that domain.
Verification best practices checklist
- Verify every list before every campaign, not just once.
- Re-verify anything older than 90 days, and anything older than 30 days before large sends.
- Deduplicate before uploading.
- Remove Invalid results and suppress them in your CRM.
- Re-run Unknown results after a delay instead of sending to them.
- Keep a written rule for Risky addresses.
- Verify at the point of capture with the API where possible.
- Track bounce rate per campaign and investigate any spike.
Verification is one piece of a broader deliverability setup. For the authentication side (SPF, DKIM, DMARC and the 2026 sender rules), read our email deliverability guide. For measuring results, see our email bounce rate guide.






 No credit card required
 100 one-time free credits